I am a firm believer in the added safety provided by using a tail light modulator. I have experience with only one type, and after using it for 10 years on my Nighthawk and over 2 years on my VFR, I have been completely happy with it.
The Priority Plus unit from Sound Off Recreational turns your stock rear turn signals into running lights and flashing stop lights without effecting turn signal function. Essentially, every time the brakes are applied the turn signals (which are now also on as running lights) quickly flash for 1.5 seconds before going on full bright.
Installation is pretty straightforward provided you are comfortable with cutting and soldering wiring on your bike. The kit comes with various connectors, but I am a firm believer in having strong soldered connections on my bike. Installation on my CBR1100XX required removing the seat as well as unplugging the ECU and moving it out of the way.
The unit itself is fairly small and has 7 wires coming from it.

And it fits with plenty of room to spare in the tail section. I stuck it to the underside of the top of the tail and time will tell if the double sided foam tape will hold.

I started out by identifying which wires I needed to tap into. The instructions that are provided with the unit are very short - however they are extremely concise and there was really no confusion.
You will cut the positive wires going to the right and left turn signal bulbs. Each bulb has 2 wires going to it, and in the case of my bike, all green wires were ground so it was very simple. The right signal had a blue and a green wire, so I cut the blue.

The left signal had an orange and a green wire, so I cut the orange.

After slipping some shrink tubing on the wires, I cut the blue wire from the unit to length and soldered it to the harness end of the blue wire for the right signal. The brown wire from the unit was then cut to length and soldered to the bulb end of the blue wire. The right signal is now done.
Repeat this procedure for the left signal. The yellow wire from the unit goes to the harness end of the orange wire for the left signal. The green wire from the unit goes to the bulb end of the orange wire for the left signal.

Next, I needed to identify which wires going to the tail light bulbs were for the brake light (on when braking), and for the running/tail light (always on). With my multimeter it was easy to tell that the green/yellow wire was for the brake light, and the black wire was for the running light. The remaining green wire is of course ground.

The instructions said to use T-Taps to tap into these wires, but I am paranoid about vibration causing an issue and losing my lighting. So I opted to strip a small section of insulation on each wire as shown, and solder my connections.
I cut the white wire from the unit to length and soldered it to the green/yellow wire (brake light). I cut the red wire to length and soldered it to the black wire (running light). And finally I cut the black wire to length and soldered it to the green (ground) wire.

The unit is now all wired up. I wrapped the last three solder joints in eletrical tape (I didn't want to cut the wires to slip shrink tubing on them). I used a zip tie to bundle the extra wiring in place to try and keep things neat.
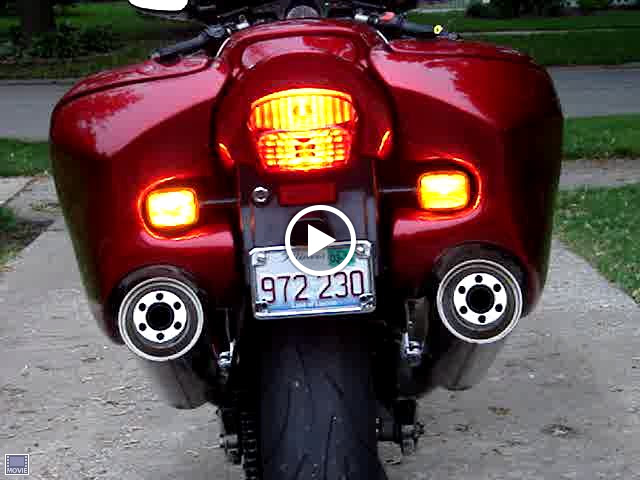
When turning the ignition on, you will first see that the turn signals are now doing running light duty.

When you apply the brakes, the turn signals will flash for 1.5 seconds and then go solid bright. With this unit installed, it would be tough for a driver to miss the fact that you are braking. The following video clip doesn't fully illustrate the effect, however it at least gives you an idea.

No comments:
Post a Comment